This is a post I wrote as a guest for the blog Northern Beauty, but that blog no longer exists so here is the post.
Hi everyone!
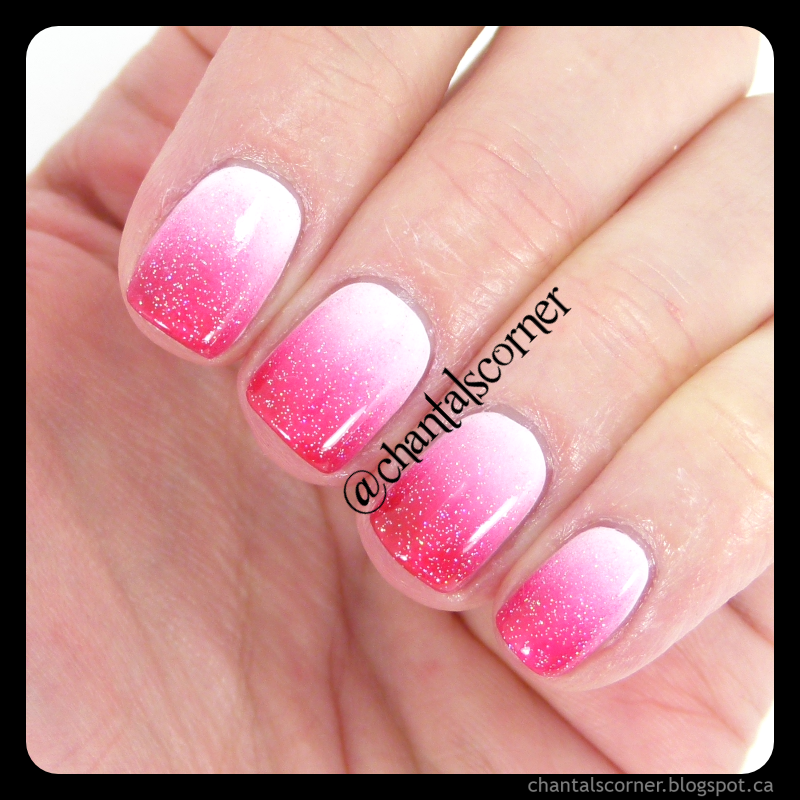
I’m Chantal from Chantal’s Corner and I’m excited to be a guest for Jenna today as part of the Canadian Beauty Bloggers‘ monthly rotation. Our theme this month is red, pink and white so I decided to do some nail art with the colours. I know Jenna doesn’t usually do nail posts so I hope you don’t mind the change in topic. 🙂
I spent way too much time on these nails and I’ll explain my lessons learned below.
Here are the products and tools I used for this nail art:
- OPI Natural Nail Base Coat
- Sinful Colors “Snow Me White”
- CND Vinylux Weekly Top Coat
- Etude House “Pink” Ice Cream
- Etude House “Minnie Red”
- China Glaze “Fairy Dust”
- Make-up sponge (from the Dollar Store)
- Small paint brush for clean-up (from Michael’s)
And here is what I did:
- Applied my base coat;
- Applied my base colour (I used Sinful Colors “Snow Me White”);
- Applied my gradient colours on my sponge and sponged on my nails going up and down a little bit to mix the colours together;
Lesson learned: when you switch hand, grab a new sponge. I did not do that and when I was doing my 2nd hand I started to get some dry bits of nail polish coming off the sponge and sticking to my nails. 🙁
If it was not for those dry bits my nails would have been done at this point (with a 4th step of cleaning up and a 5th step of adding a top coat), but I had some red and pink bits on the white and I did not like that so I did a second coat of sponging…
- I grabbed 2 more sponges and sponged again on both hands;
- Once I was done sponging I grabbed my little brush and dipped it in acetone to clean up the extra polish that got on my fingers from the sponging;
- I applied a top coat (it helps blur the colours together and creates a better gradient);
- I wasn’t 100% satisfied with the result so I added some China Glaze “Fairy Dust” on top (glitter fixes everything);
- And I finished with one last layer of top coat.
Done, PHEW! Crazy huh? lol!
And this is the end result:
I’m really happy with how they turned out and I hope you enjoyed reading this. 🙂
Thank you Jenna for letting me take over your blog!
– Chantal 🙂
Computer geek by day and super mom by night, Chantal loves to try products of any kind and share her thoughts with the world.


